There are a lot of challenges involved in teaching a design class, especially an MYP IB design class. After teaching IB design cycle for almost a decade, I can help answer questions – from the basics, to the advanced. This page is designed to help you understand how to teach the design cycle, tips to help solve problems, and to help save you time when you start planning your curriculum.
If you click our links to online stores to buy something, we may receive a small commission. For more information click here.
You can jump to any of the article sections below, or check out the IB MYP Design books here:
Design for the MYP IB 1-3

Design for the MYP IB 4&5

What is the MYP Design Cycle
A design cycle is a problem solving framework created to help structure thought process. There are many different types of design cycles (often called a design process, or design thinking).
The IB MYP Design Cycle follows the following four steps: Inquiring and Analyzing, Developing Ideas, Creating a Solution, and Evaluation.
While these steps create a roadmap to follow when solving a problem (or completing a project in school), it is encouraged that these steps are revisited, and not completed in a linear order.

Inquiring and Analyzing
Inquiring and Analyzing is traditionally the first step of the design cycle. In this step, students will explain and justify why a problem needs a solution, and what that solution might be. This step mainly involves lots of research. Some questions students should answer in this step of the design cycle are:
- What is the problem?
- What are possible solutions?
- What is needed to create the solution?
- What challenges might occur while creating the solution?
Developing Ideas
Developing Ideas is the second step of the design cycle. In this step, students will determine what the design idea and specifications will look like. This step involves sketching designs, brainstorming and innovating ideas, and planning. Some questions the students should answer in this step of the design cycle are:
- What does my solution look like (students accomplish this with a design sketch)?
- What materials will my solution require?
- What is my timeline?
Creating a Solution
Creating a solution is the third step of the design cycle. In this step, students will create their solution based on their research and plan, from the previous two steps. This step involves using technical skills and other myp device and ib design technology to create the solution. Some questions the students should answer in this step of the design cycle are:
- What changes have I made to my design?
- Am I on schedule (and on budget, if applicable)?
- Is my solution working as intended?
Evaluation
Evaluation is the final step of the design cycle. In this step, students will identify if their solution acted as intended. This step involves testing the solution, and redesigning if needed. Some questions the students should answer in this step of the design cycle are:
- What is my solution?
- Does my solution work as intended? How do I know?
- How does my solution compare to other similar ideas?
- How can my solution be improved?
Teaching the Design Cycle
Teaching the design cycle can seem overwhelming at first. There’s a lot to teach, and a lot to learn!
While teaching the design cycle is not easy, you can make it a bit more simple for yourself.
No matter what project your students are working on, the process is similar throughout! So once you and your students understand the process, completing each project becomes easier and easier each time.
Here is how I approach teaching the design cycle to start the year.
Start by Teaching Skills
I like to start by teaching my students skills at the beginning of the year. Specifically, I try to teach relevant computer skills, especially research skills.
One of the skills I teach and reteach constantly, is the CRAAP Test. This test helps students identify what online websites are reliable, and what online websites are – well – crap. If you want to save time designing these activities, you can check out my CRAAP Test resources here.
Another skill I constantly teach and reteach is design sketching. Many students know how to sketch, but most don’t understand how to add labels and details to their design sketch. You can save time designing these activities by checking out my design sketch resources here.
You may decide that other skills are necessary for you course, and can explore teaching them at the beginning of the class.
The First Project
I try to get my classes started with the first project quickly. This project is usually fast, and serves as an introduction to the IBO design cycle for my students. It also helps me identify what areas of improvement my students need most.
My first project is usually quick, and spends 1 day for each step of the design cycle. While a true project using the design cycle should certainly take more time than this, I see this first project as an introduction to the design cycle.
The Rest of the Class
Once I’ve initially taught skills to my students, and they’ve gotten their first experience with the design cycle for the first project, I continue the rest of the class in the following pattern.
- Complete a Project (8-12 work periods)
- Reinforce Skills (1-3 work periods)
- Complete a Project (8-12 work periods)
- Reinforce Skills (1-3 work periods)
This pattern allows students to test their knowledge and application of the design cycle through summative assessments during projects, as well as reinforce their skills between projects through formative assessments.
Teaching design class like this has served me and my students well, as we are able to complete the assessments I planned for throughout the year, and it still gives me flexibility as an instructor to get my students the reinforcement and support they need.
Sample MYP Design Lesson Outline
Below, I’ve outlined a sample curriculum I have used for a 7th grade MYP Design class.
- Week 1-2: Classroom culture and procedure work, first skill checks (mostly for design and research skills).
- Week 3: First MYP Design Project. I usually try and use something that does not require learning new skills. I also try to have this project go quickly, so that I can see where the students need help with learning about the design cycle.
- Week 4: Reteach procedures, support any needed learning about design cycle.
- Week 5-8: Second MYP Design Project. It try to have this be something exciting.
- Week 9: Reteaching whatever is needed, and connect to current events in design and technology.
- Week 10-12: Third MYP Design Project. I like to have this one be a group project (or, if the 2nd project is a group project, let students choose their groups for this project).
- Week 13: Reteaching whatever is needed, connecting to current events in design and technology, and setting students up for success in their final project.
- Weeks 14-17: Final MYP Design Project. This should be something with a big showcase or curriculum fair focus. It also serves as a final assessment for the year.
- Week 18: Curriculum Fair Week!
- Week 19: Cleanup and final project wind-down.
- Week 20: Closing out the class, tying up loose ends, allowing retakes on assessments, etc.
There is quite a bit of modification you can do to the schedule above. For example, some years I might spend 2 weeks in between each project reteaching skills as needed. Other years, I might not spend any time in between projects reteaching, and do 5 projects for the whole year.
The important thing is that you find a cadence that works within your class schedule and student needs.
Curriculum Resources
I remember my first year teaching a design class. It was so overwhelming! I had so many projects to design, and my understanding of the design cycle was…incomplete, to say the least. I worked 10+ hour days to make sure my curriculum stayed at least a day ahead of what I was teaching, and I almost got burned out.
If you find yourself in a similar situation, I can help!
I have a number of resources (both free and for sale) that will save you time when designing curriculum and activities for your design cycle class.
If you just want to browse, and design curriculum on your own, more power to you! But if you’re looking to save a few hours of work and download a tried and tested design project in exchange for a few bucks, check out the resources below!
Full Design Cycle Projects
| Image | Project Name | Cost | Link |
 | Future City Project | Paid | Check out the details! |
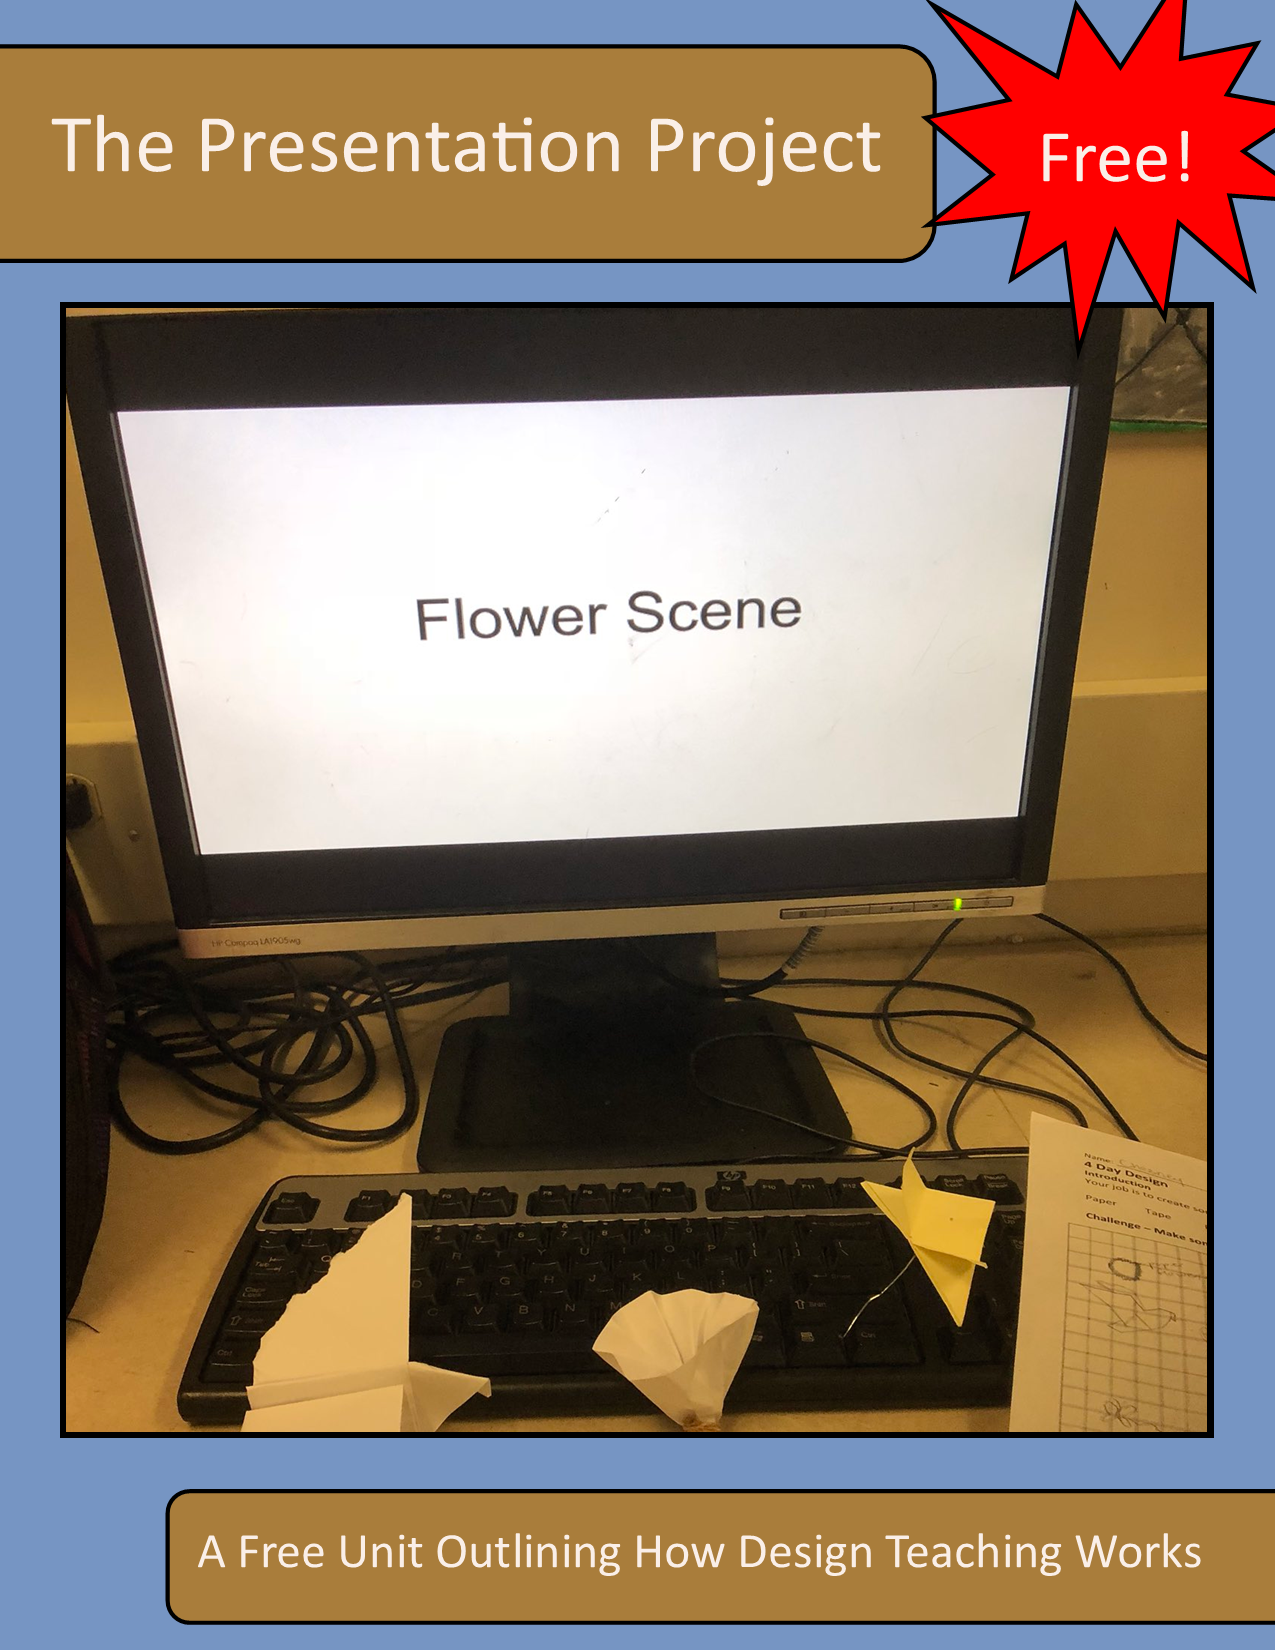 | Presentation Project | Free | Download this free resource! |
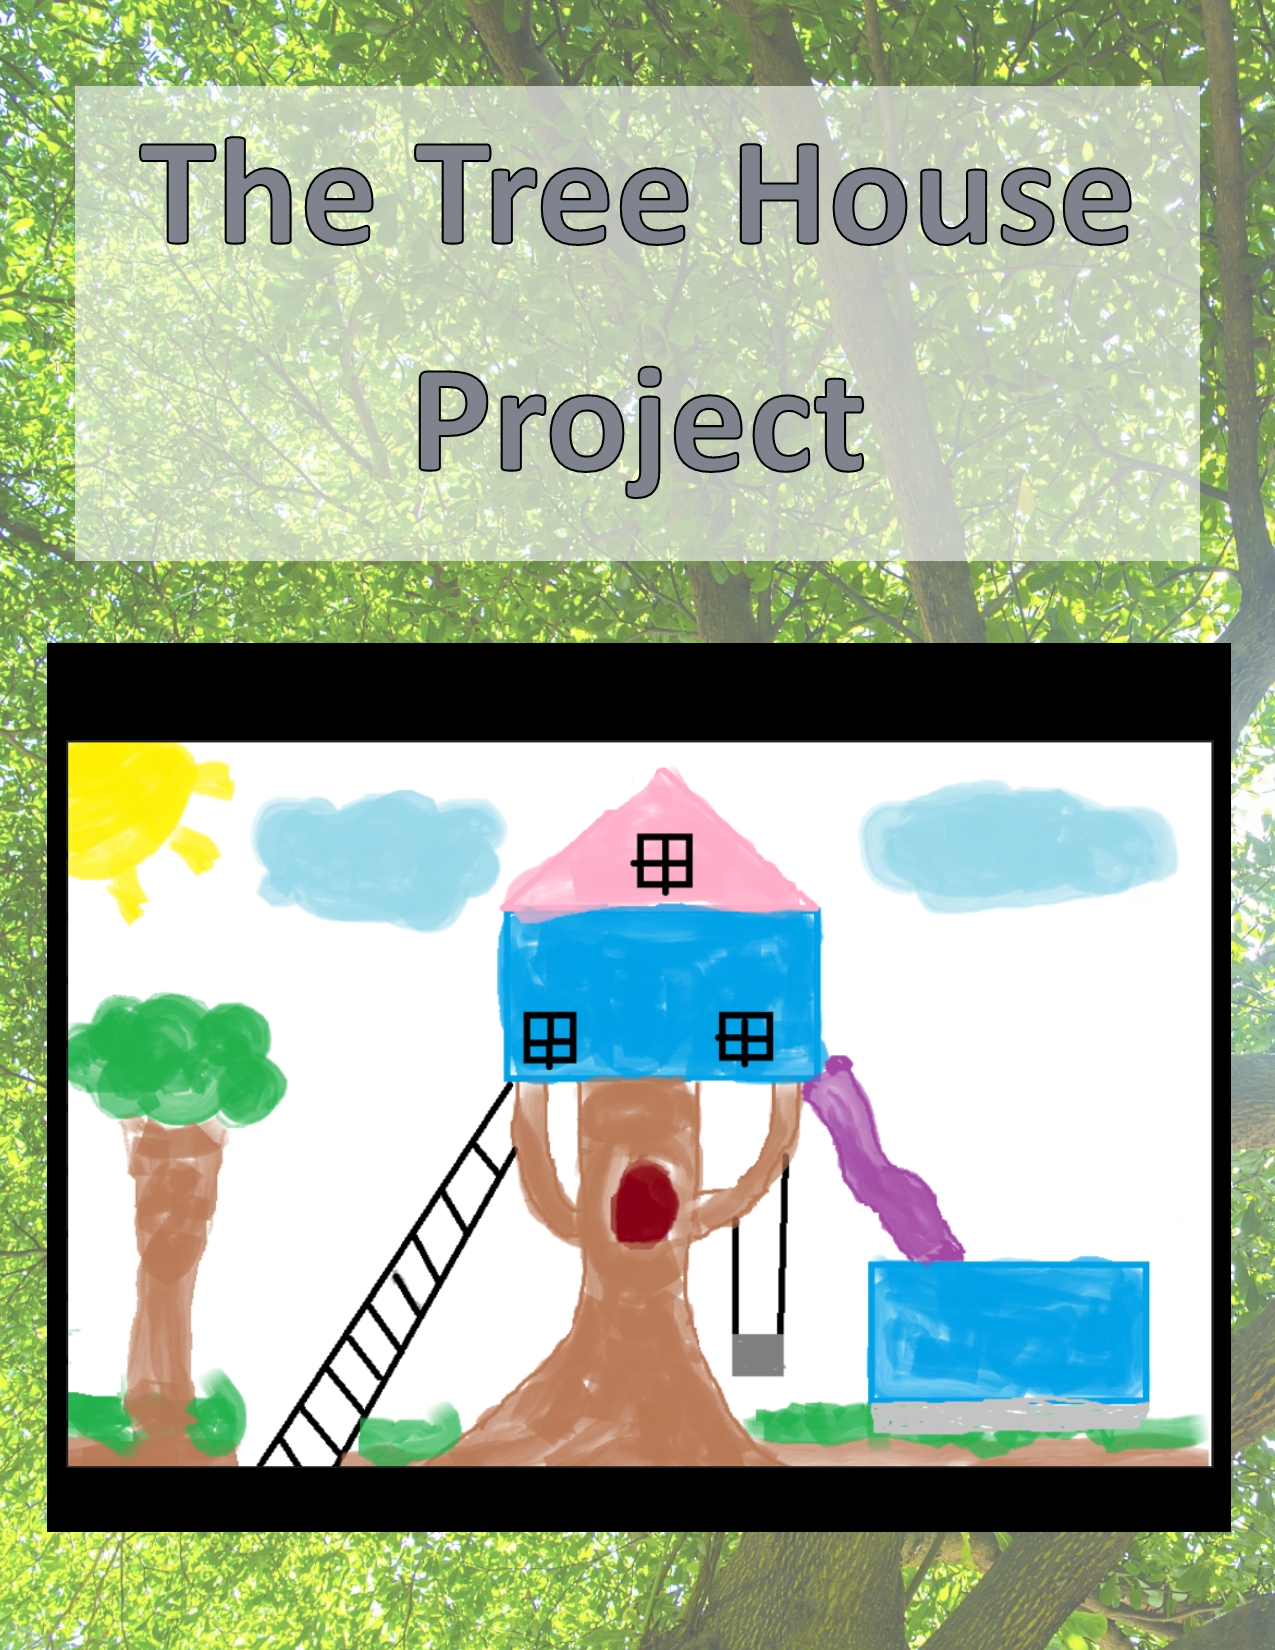 | Digital Treehouse Design | Paid | Check out the details! |
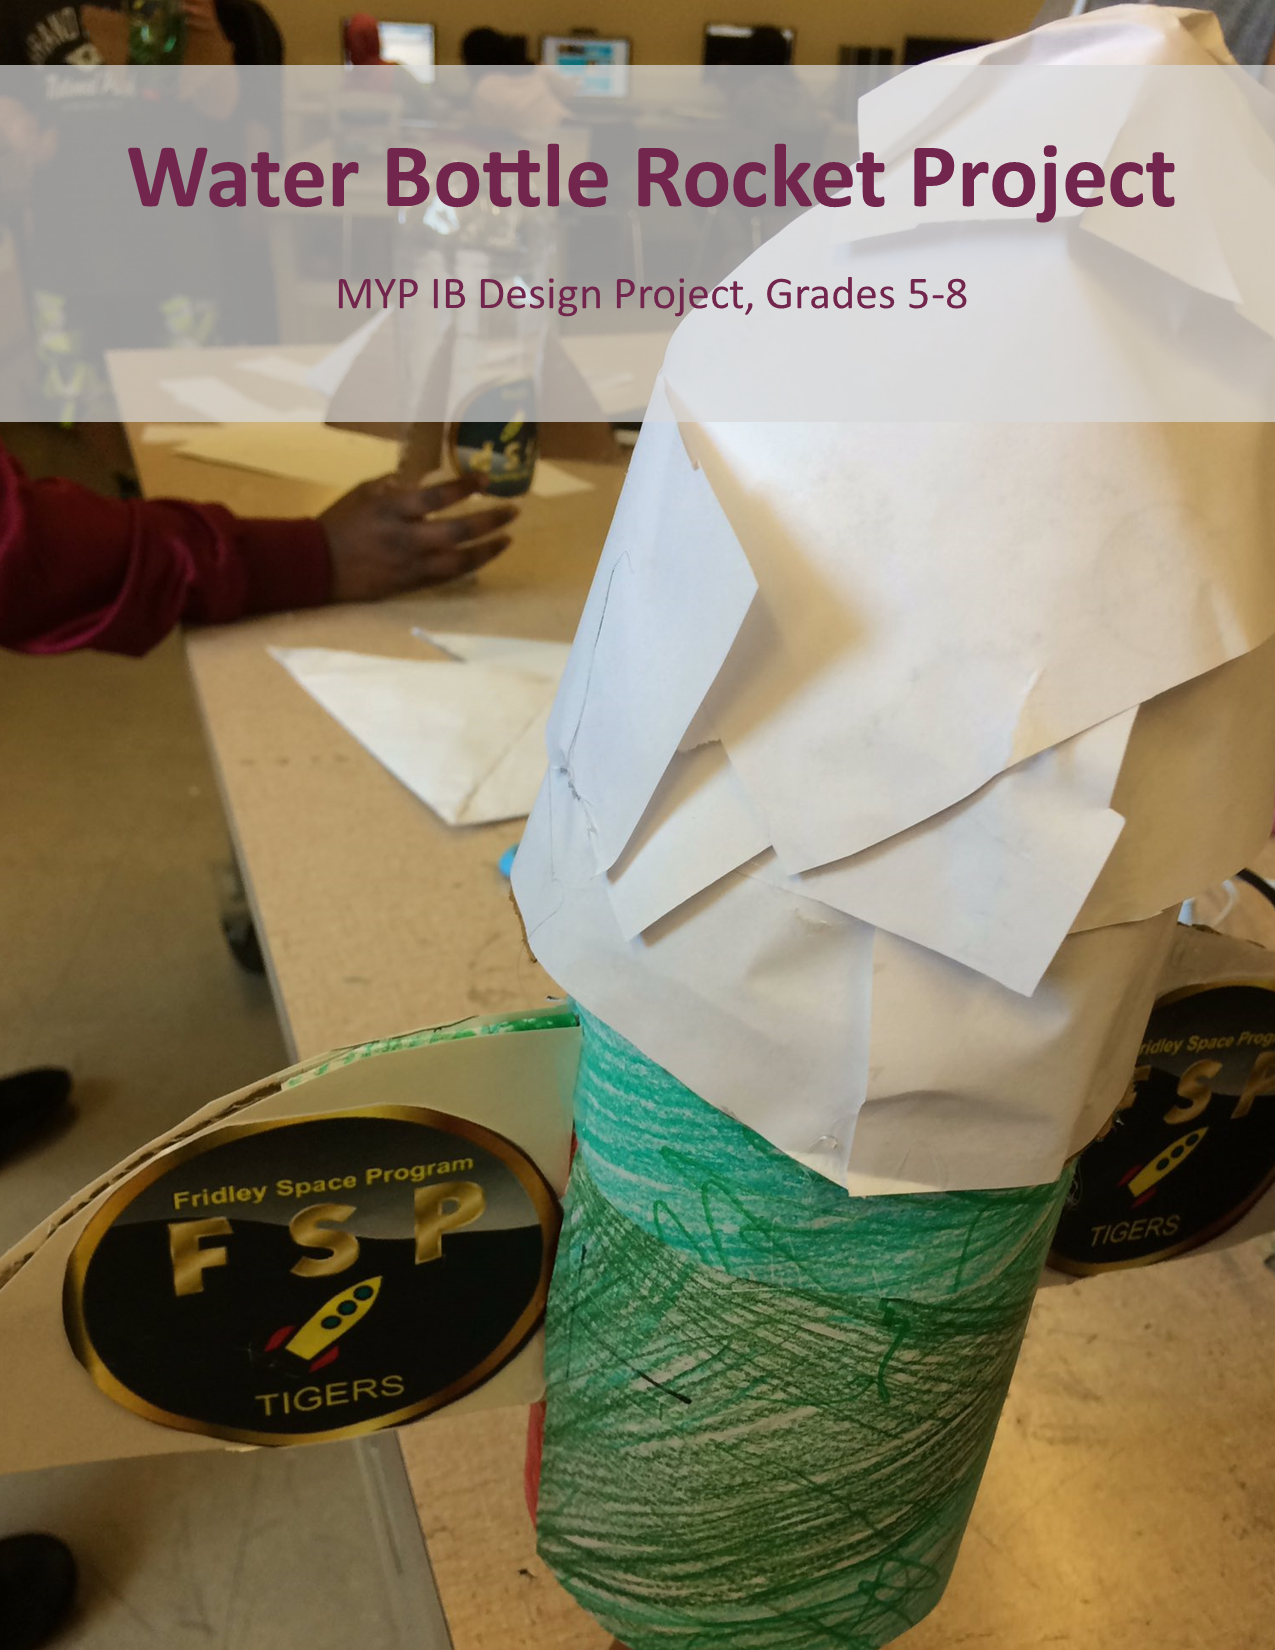 | Water Bottle Rocket Project | Paid | Check out the details! |
 | Boat Buoyancy Project | Paid | Check out the details! |
 | The Commercial Project | Paid | Check out the details! |
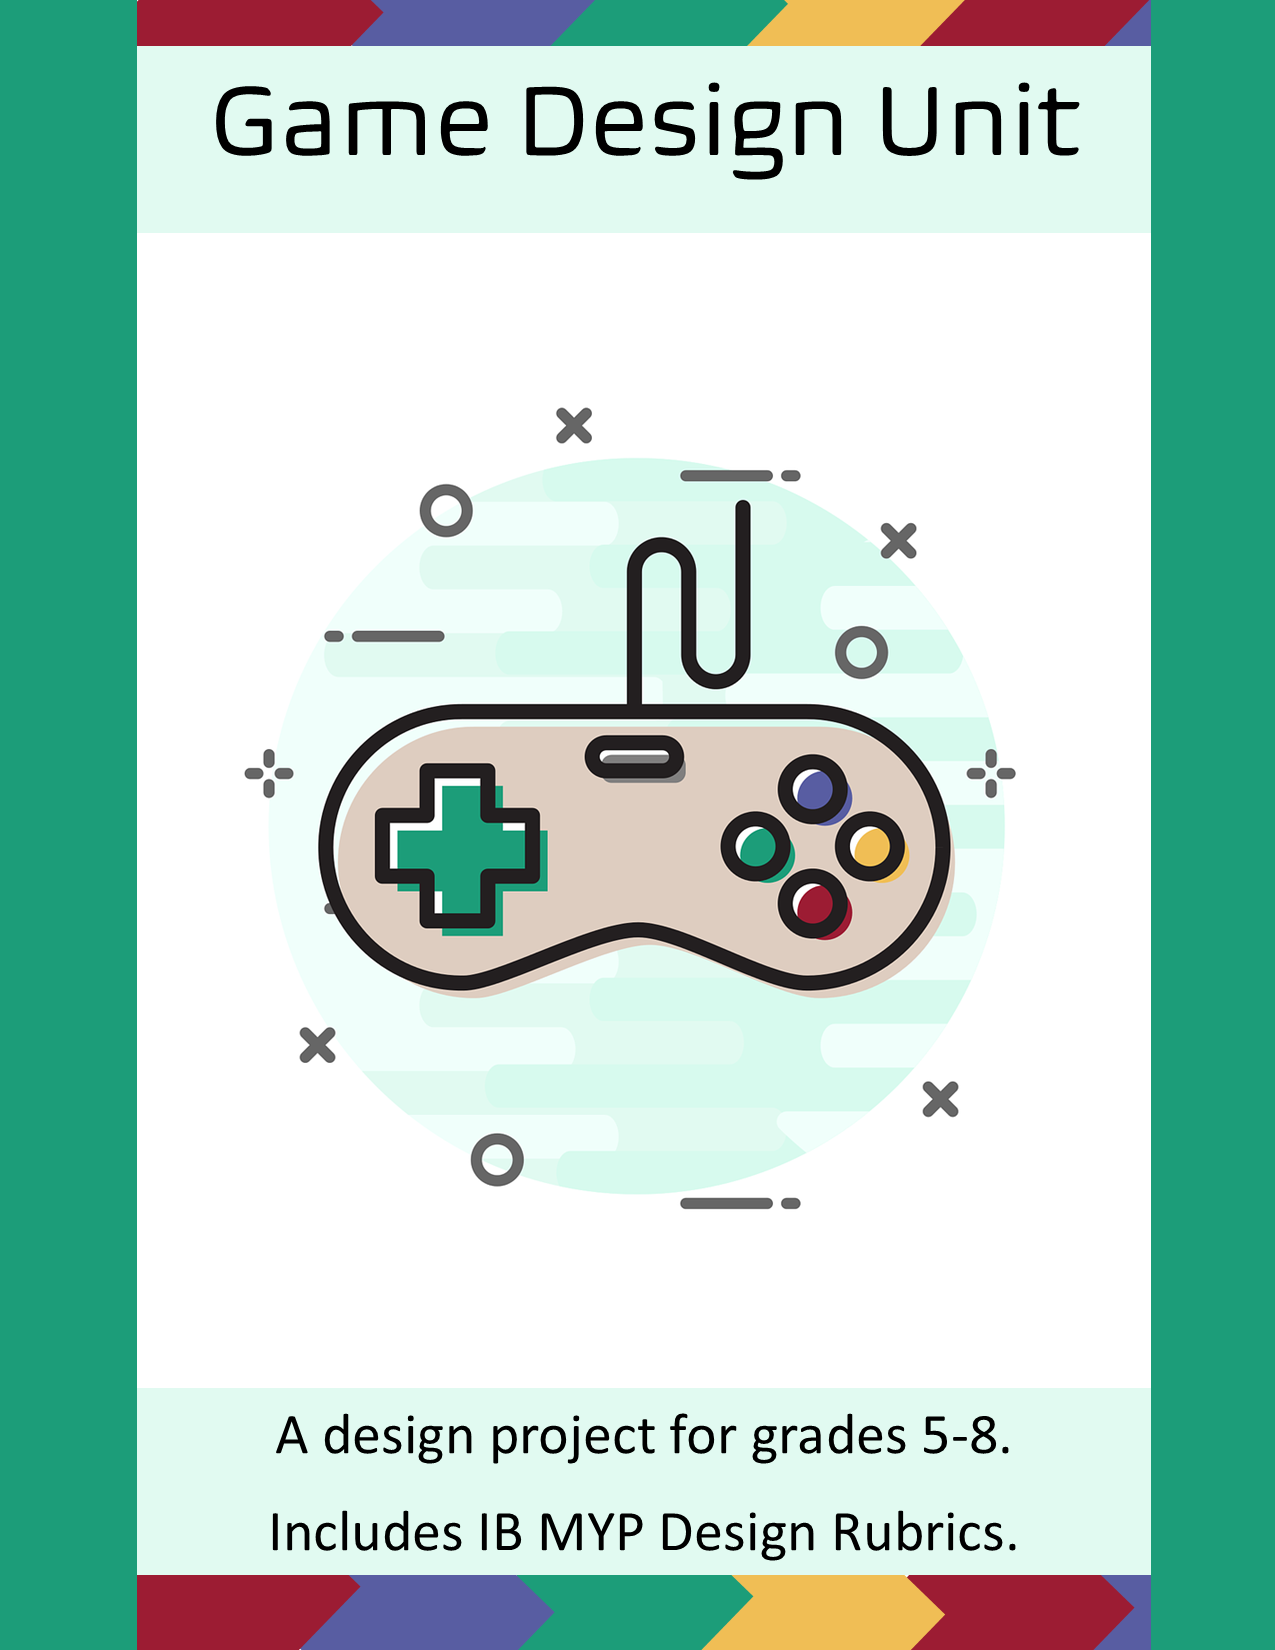 | Game Design Project | Paid | Check out the details! |
 | Rube Goldberg Project | Paid | Check out the details! |
 | 3d Design Project | Paid | Check out the details! |
Design Cycle Activities
| Image | Name | Cost | Link |
 | Free CRAAP Test Activity | Free | Download this free resource! |
 | CRAAP Test Activity with Updated Resources | Paid | Check out the details! |
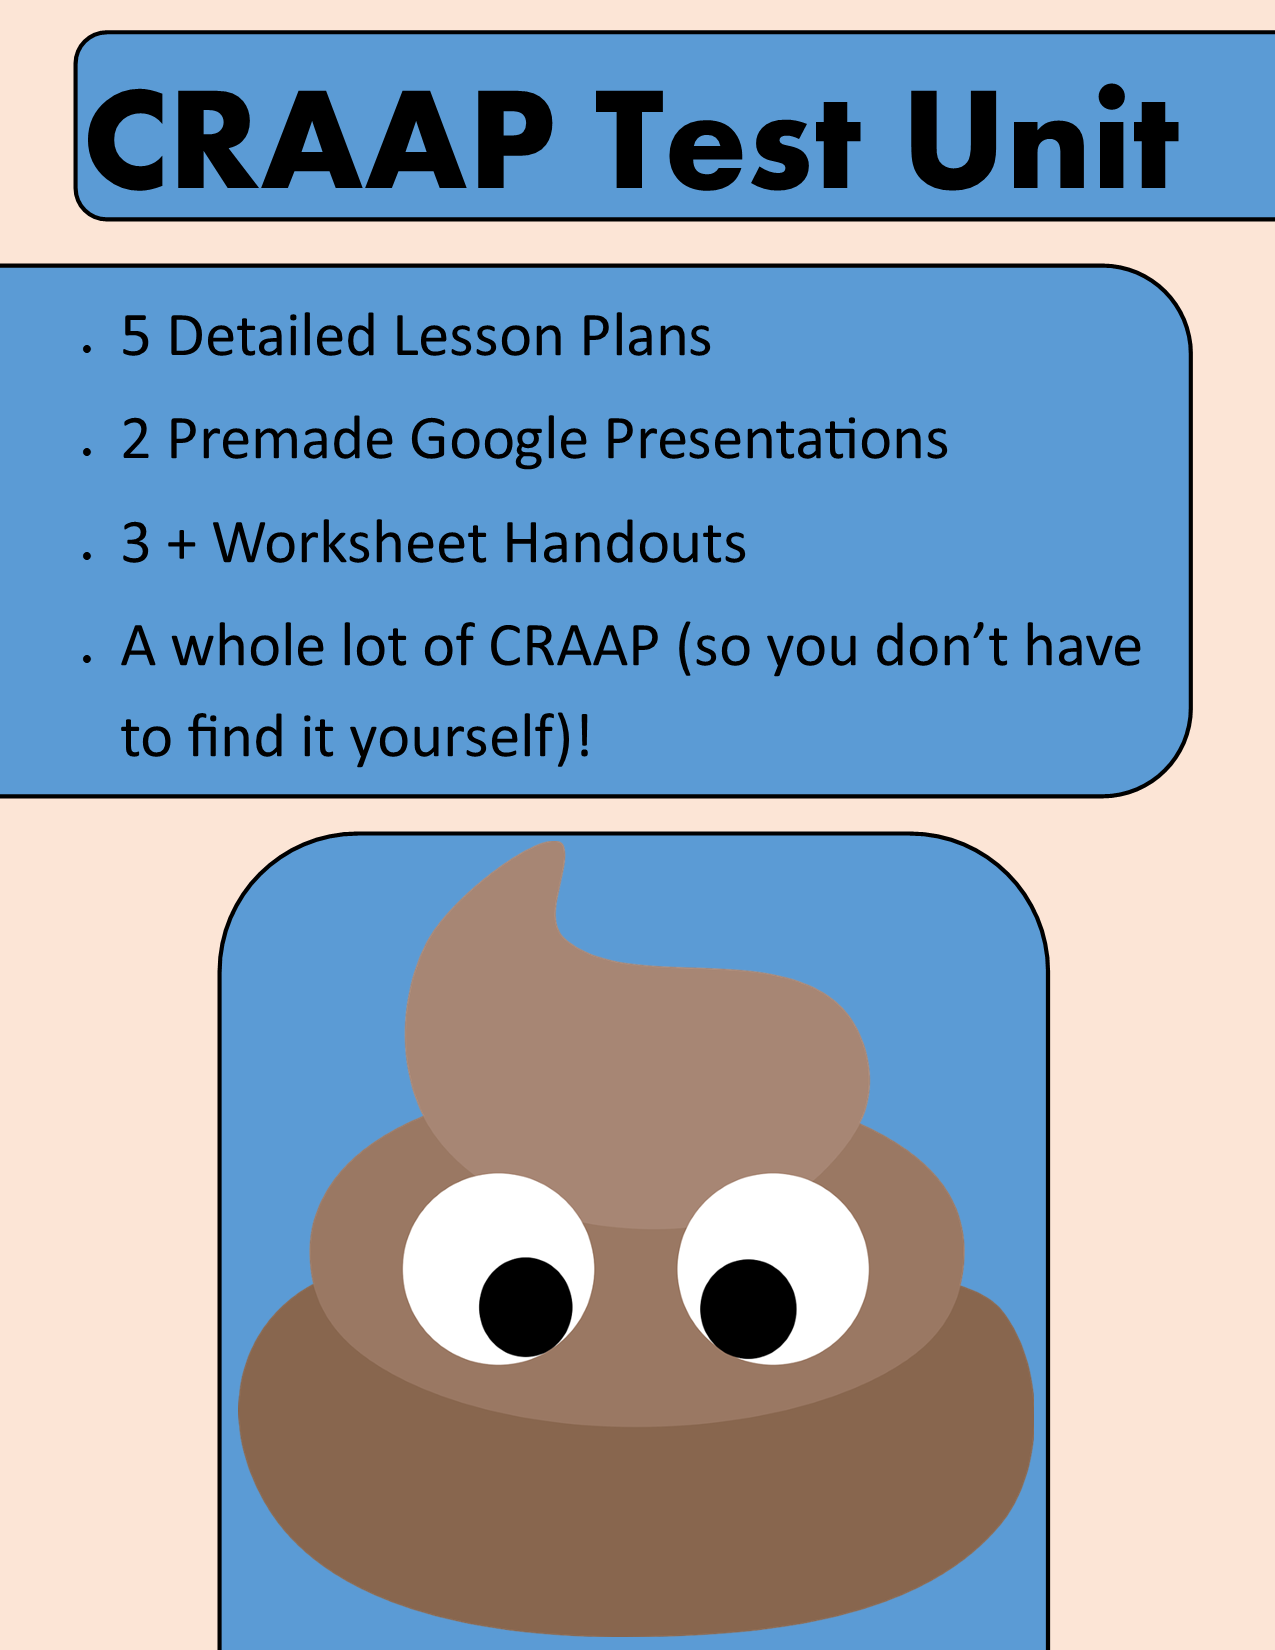 | CRAAP Test Unit | Paid | Check out the details! |
 | Free Design Prompt Activity | Free | Download this free resource! |
 | Space Design Prompt Activity | Paid | Check out the details! |
 | Sustainable Energy Design Prompt Activity | Paid | Check out the details! |
 | Architecture Design Prompt Activity | Paid | Check out the details! |
 | Greta Thunberg Research Activity | Paid | Check out the details! |
 | Wayback Machine Research Activity | Paid | Check out the details! |
Other Resources for Teaching Design
There are a lot of other resources out there for teaching design. I’ve included a few here that may be useful for you – be sure to check them out!
Design for the MYP IB 1-3
Design for the MYP IB 4&5
Teaching Design: A Guide to Curriculum and Pedagogy

Stay Involved
Want to stay involved with the most recent updates and resources? You can check follow my Teachers Pay Teachers page here.

How do you teach the difference between command terms “explain” vs “justify”?
LikeLike
In my own words, “explain” is a bit lower level, where the student can give background information. “Justify” is a bit deeper, as it requires the student to add a layer of “why they did it this way.” I think about justification in a way that students have to defend their viewpoint/decisions.
LikeLike