I’ve spent years teaching design and science, and by far my favorite end of the year project is the Water Bottle Rocket Project. It is fun, exciting, gets students outside, and it really challenges students to use all the skills they’ve been working on throughout the whole year. In other words, it is the perfect final project to a school year!
In this article I cover the supplies you might need for this project, the tasks I have my students accomplish, and why I love this project so much. If you want more detailed lesson plans I prepared for this project, click the button below!
If you click our links to online stores to buy something, we may receive a small commission. For more information click here.
This post is split into a few sections. If you want to jump to a specific section, click the link below. Otherwise, keep scrolling down to read more!
Supplies You Will Need
Unlike other design projects I have created, this project has some specific supplies you will need. Because of this, it’s important to order these supplies ahead of time. I would also suggest testing these supplies (especially the rocket launchpad) so that you understand how they work!
I’ve split the supplies into two different categories: Need to Have, and Nice to Have. I’ve also included some tips I’ve learned over the years of using these supplies.
Need to Have
The main thing you need for this project is a water bottle launch pad. This is an object that holds a 2 liter bottle in place, and allows you to pump water into it. Then, when it reaches the appropriate PSI, you can pull the plug, releasing the pressure and water, which launches the water bottle rocket up into the air! Here are three different price points for a water bottle launch pad.
Highest Quality – Relationshipware StratoLauncher IV Full Kit

If you are looking to completely kit out your classroom for this project, this kit is the highest quality you’re going to find. It includes everything needed to launch, including a few extra parts that I would normally make the students create themselves (like the fins to the rocket). This kit is going to last you a very long time.
Cheapest Option – Aquapod Water Bottle Rocket Launcher

The Aquapod Water Bottle Rocket Launcher is the cheapest option for your classroom. It has everything needed for launch. It is a bit cheaper quality for, but at a lower price point. It may only last a few years, but will still work well for you and your students.
Tips for Launching
When using the water bottle launch pad, I suggest two things.
First, bring something heavy to weigh it down. The force of launching a water bottle rocket can actually upend the launch pad quite easily. It gets really annoying setting it back up over and over and over again. For years I used free weights from the gym at my school. These worked well to hold down the launch pad against the force of the rocket launch.
Second, I suggest bringing a towel. YOU WILL GET WET! Water will spray everywhere! Make sure you bring a towel to dry off any notes you are making, and yourself!
Nice to Have
This project specifically asks students to bring their own supplies from home. If your students are anything like mine, they will bring some supplies…but not all of them. Here are the supplies I was able to purchase with my department’s budget, to supplement the materials my students were able to bring from home. (#ad)
Hot Glue Gun and Glue Sticks

Hot glue and glue sticks are probably the most important type of supply you’ll need for a water bottle rocket project. Your students will want to attach fins, caps, payloads, parachutes – and probably other wacky things – to their water bottle rocket. Hot glue is the easiest way to do this.
Balsa Wood (Rocket Fins)

Balsa wood makes for great rocket fins for a water bottle rocket. Balsa wood is thin enough to cut with a scissors, yet durable enough to serve as a rocket fin when a rocket is in flight. Best of all, it’s relatively cheap! If you need a cheaper material for rocket fins, I suggest recycled cardboard.
Strong Clear Tape

Clear tape is important for attaching some of the basics to a water bottle rocket. While hot glue works well for rocket fins, items such as the nose cone or payloads may be better serviced with strong, clear tape.
Colorful Duct Tape

If students want to express themselves, a good substitute for clear tape is colorful duct tape. It’s a bit more pricy, but just as strong, and makes anyone’s water bottle rocket stand out!
Large Tagboard (Nose Cones)

One of the most important parts of a water bottle rocket is the nose cone. The best material I’ve found to make a nose cone is large taboard. It’s easy to cut with a scissors, yet more durable than regular paper, especially when curled into a cone. Stronger material like cardboard folds when curled, so tagboard is a good middle ground for nose cones.
Project Tasks and Lesson Plans
I approach most design projects in four steps, which follow the design cycle. The Water Bottle Rocket Design Project has an exciting “Launch Day” attached to it, so for this one there are really 5 tasks I assign to my students.
Research
The first task is research. Students should understand how rockets fly. Students should also understand how water bottle rockets fly. Students should also be able to compare the flight of an airplane to the flight of a rocket. While research should continue throughout the project, most of the heavy research is done up front.
Design
During the design task, students need to determine two important things. First, students need to determine what their mission is. I’ve had students come up with all sorts of fun missions in the past, from launching live ants and worms, to students launching a beautiful spinning rocket! This is an exciting decision, as the control is almost completely in the student’s hands.
Second, students need to design their rocket. Specifically, students should be creating a rocket design with the mission in mind. Are they trying to launch ants safely! If so, they need a safe place for the ants to be during launch. Are they trying to save their rocket with a parachute? Their design better include a parachute!
Creation
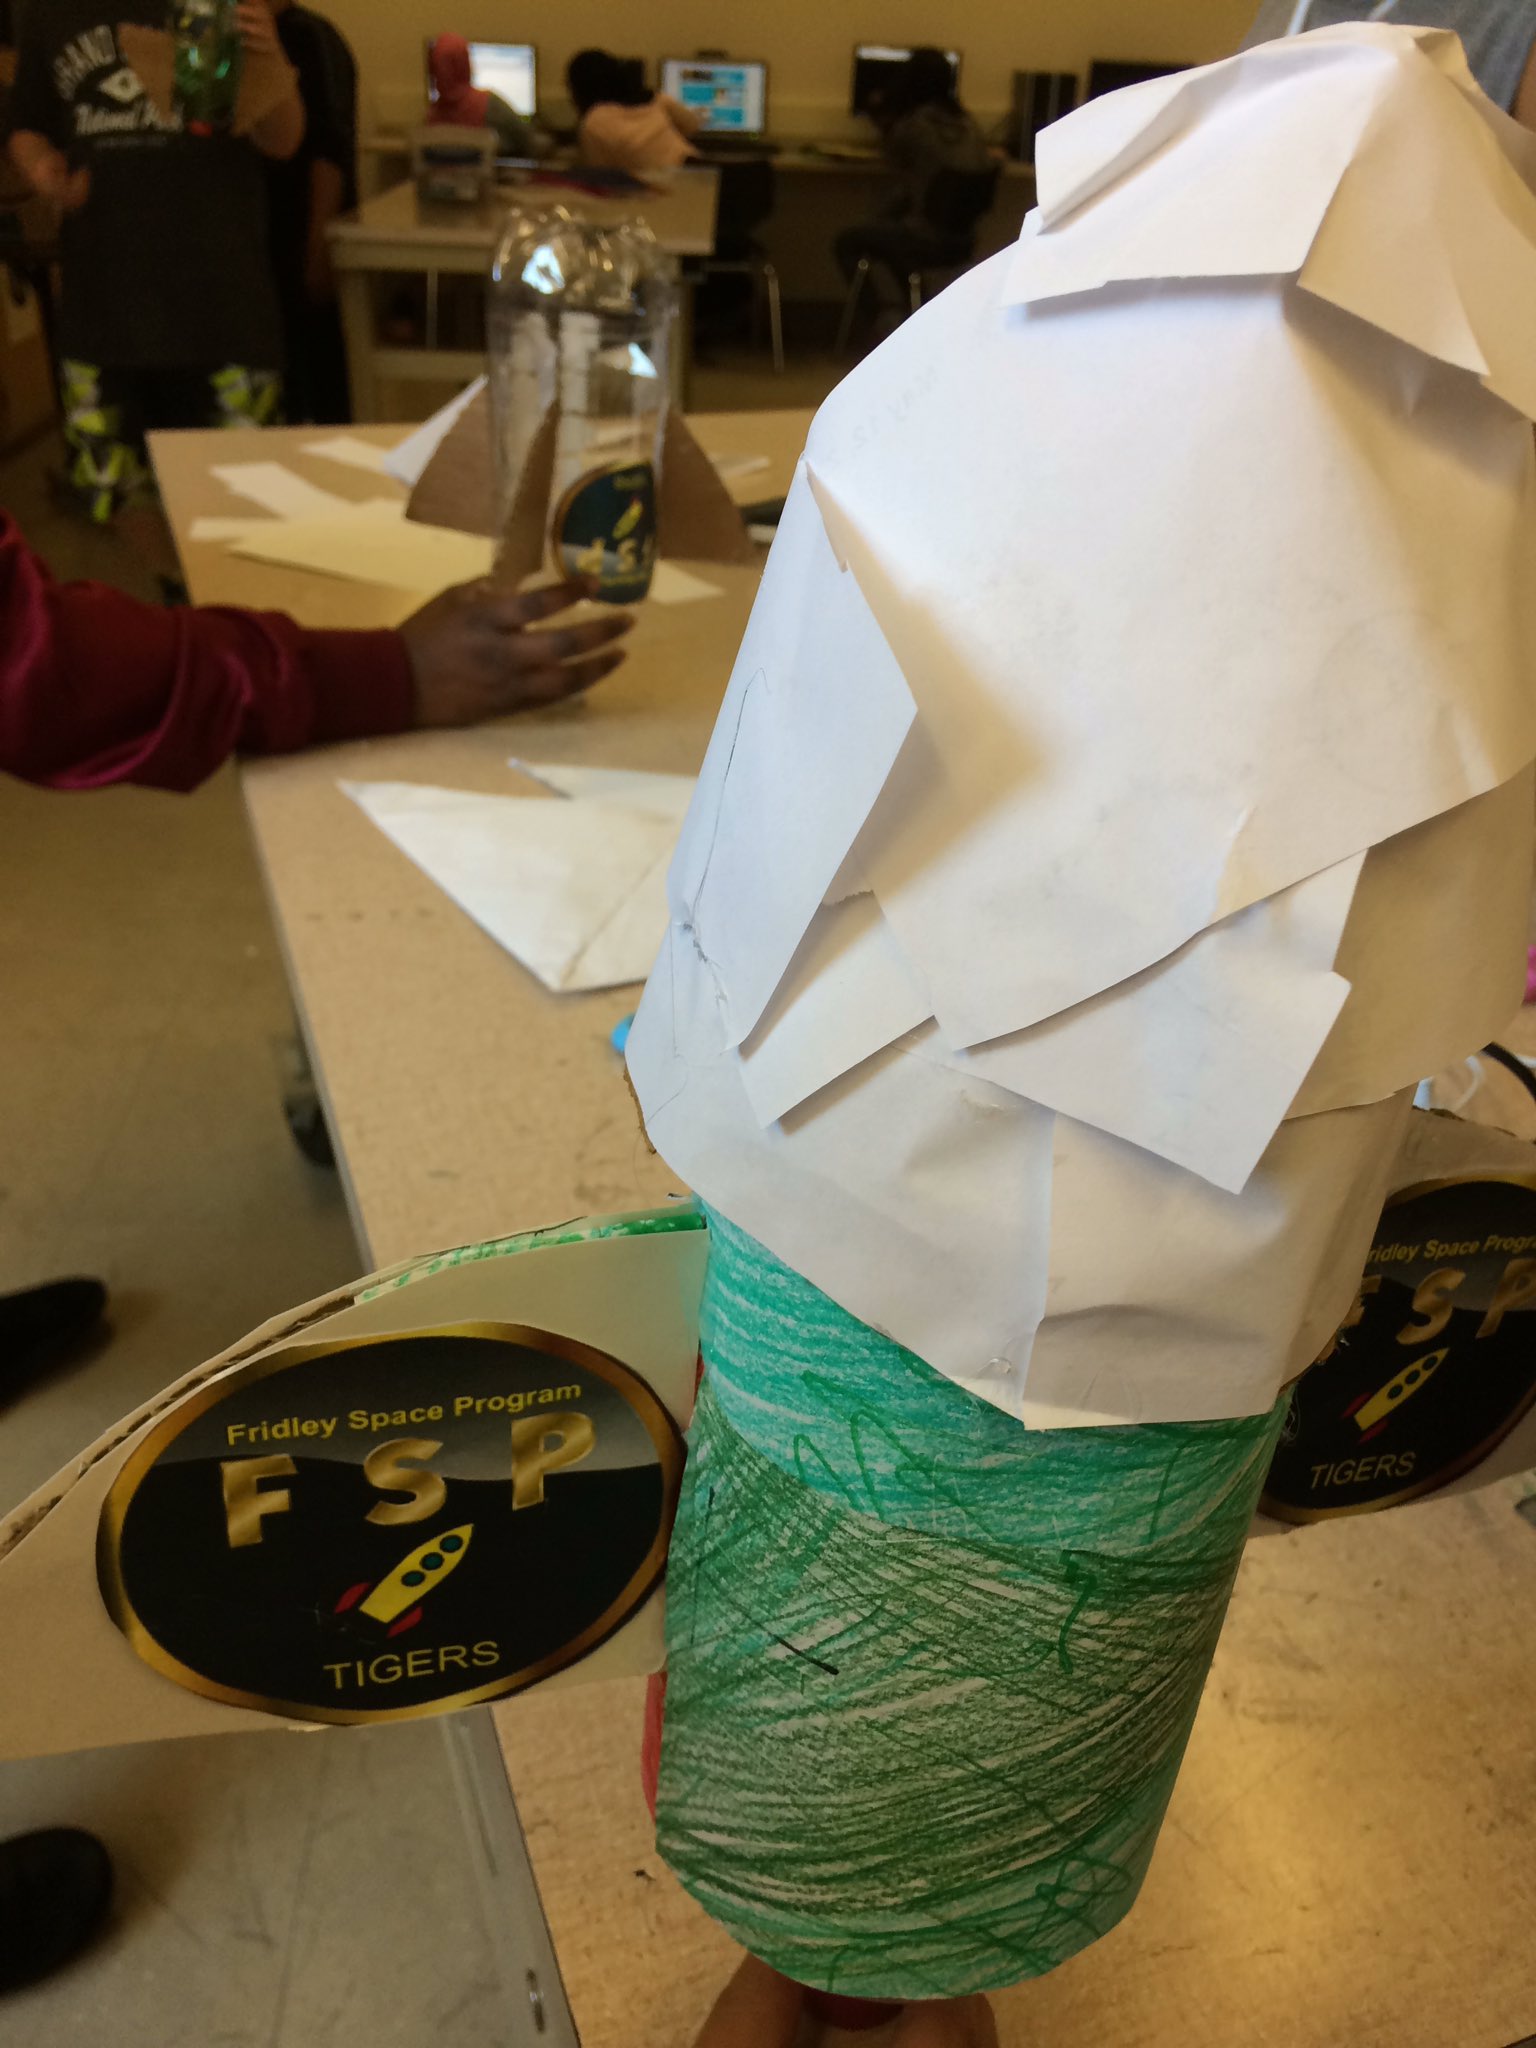
This task is fun, and simple, yet at the same time challenging. Students create their rockets! See the Supplies You Will Need section to identify which supplies you need, and which are nice to have.
Launch Day
Once the rockets are created, the students get to launch their rockets! This is always a fun and exciting end to the project. I often run this project at the end of the year, so it is a fun celebration at the end of the school year as well.
Evaluation
Here, students decide if their rocket was successful. Did the rocket accomplish its mission? How could the rocket be improved? These questions are important to improving the student’s design skills and critical thinking.
Lesson Plans
I have created a full lesson plan for the project here. The lesson plans have a small cost, but include full write-ups for each task I outlined above, all assignments and handouts for the project, and extension ideas for students who get off-task easy or need an extra challenge.
Why I Love the Water Bottle Rocket Design Project
As I said above, this is my favorite project to end a school year. This project gets students outside. It challenges students to use all the design skills they’ve improved so far. It’s a celebration in many different ways.
Maybe most importantly, this is a project which invokes motivation and wonder. In the Water Bottle Rocket Design Project, students get a chance to choose their own mission. They get to chase after their own interests, in the form of a rocket design. Allowing students a choice that has such a big impact on the final design of their rocket increases their motivation and energy – which is often very important at the end of the school year!
Overall, this is a very fun project. I always enjoy it! Even though I can’t post the videos I want, I have some great clips of students who don’t always enjoy school, really excited about their rocket launch. I hope you and your students enjoy this one as well!
Other Lesson Plans
You can check out other lesson plans I’ve put together below!